By: Samir Alhafith
The driveway at home was covered in dive gear – bins full of deco ropes, anchors, deco station weights, buoys and everything else required for a deep wreck trip. Packing the equipment into the cars was a game of Tetris.
Sydney Project had not visited the South Coast of New South Wales for a few years – anticipation grew, knowing we were finally heading back to the welcoming coastal town of Bermagui for a weekend of diving on two of the region’s most pristine wrecks.
Our divers and support crew had travelled from Sydney, Melbourne and Canberra to dive Liberty Ship William Dawes and the Coast Farmer wrecks. Coast Farmer (to be confirmed) in particular has been holding out her true identity for a vast number of years and this trip was another opportunity to let her tell her story.
In the week leading up to the trip, the weather was looking rather grim. Strong winds and big seas threatened, though as the weekend inched closer, conditions improved very quickly. Our only other real concern, due to the location of the wrecks we were visiting, were reports of potential strong currents. Local fishermen and our charter boats skipper, Steve, voiced concerns that currents at the 12 Miles Reef were running at around 4 knots! One local fisherman who had set fish traps reported that all his buoys were underwater and hadn’t surfaced in a few days. With thoughts of currents in the forefront of our minds, we decided to proceed with our plans. Poor conditions had led to rescheduling the expedition a month or so prior and we were keen to make the most of the otherwise good conditions.
While driving down south, I received a phone call from skipper Steve with some exciting news “Current has dropped to nothing and Trapman reported seeing all his buoys back on the surface”. I was jumping out of my skin with excitement and thought this can potentially be one of those epic diving weekends.
Sydney Project members trickled into Bermagui that evening and a few members took a walk down to Bermagui marina. Familiar crystal clear waters could be seen in the harbour as we walked towards the charter boat. We made our way back to Bermagui Country Club for dinner, then headed back to the accommodation for a very early wake up.
Next morning, we woke to crisp cold winter air as we loaded the boat with a seemingly never-ending amount of dive gear! One side of the boat was a mountain of stage cylinders! With the boat loaded, excitement was evident through everyone’s blurry eyes as we steamed out to open sea.
Out of the protection of Bermagui marina we were met with a surprising amount of swell. The boat pitched sufficiently enough to test equipment lashings over the next hour as we headed to the William Dawes site. Once at the site the sounder was used to locate the wreck. There was also a need to confirm current strength as best as possible, to ensure it had not picked up again over night.
Deploying the shot line up-current from the wreck went completed smoothly, followed by the deco station with support crew assistance. Considering the lack of deck space due to equipment: we were happy with how the station and buoys deployed.

Packing car
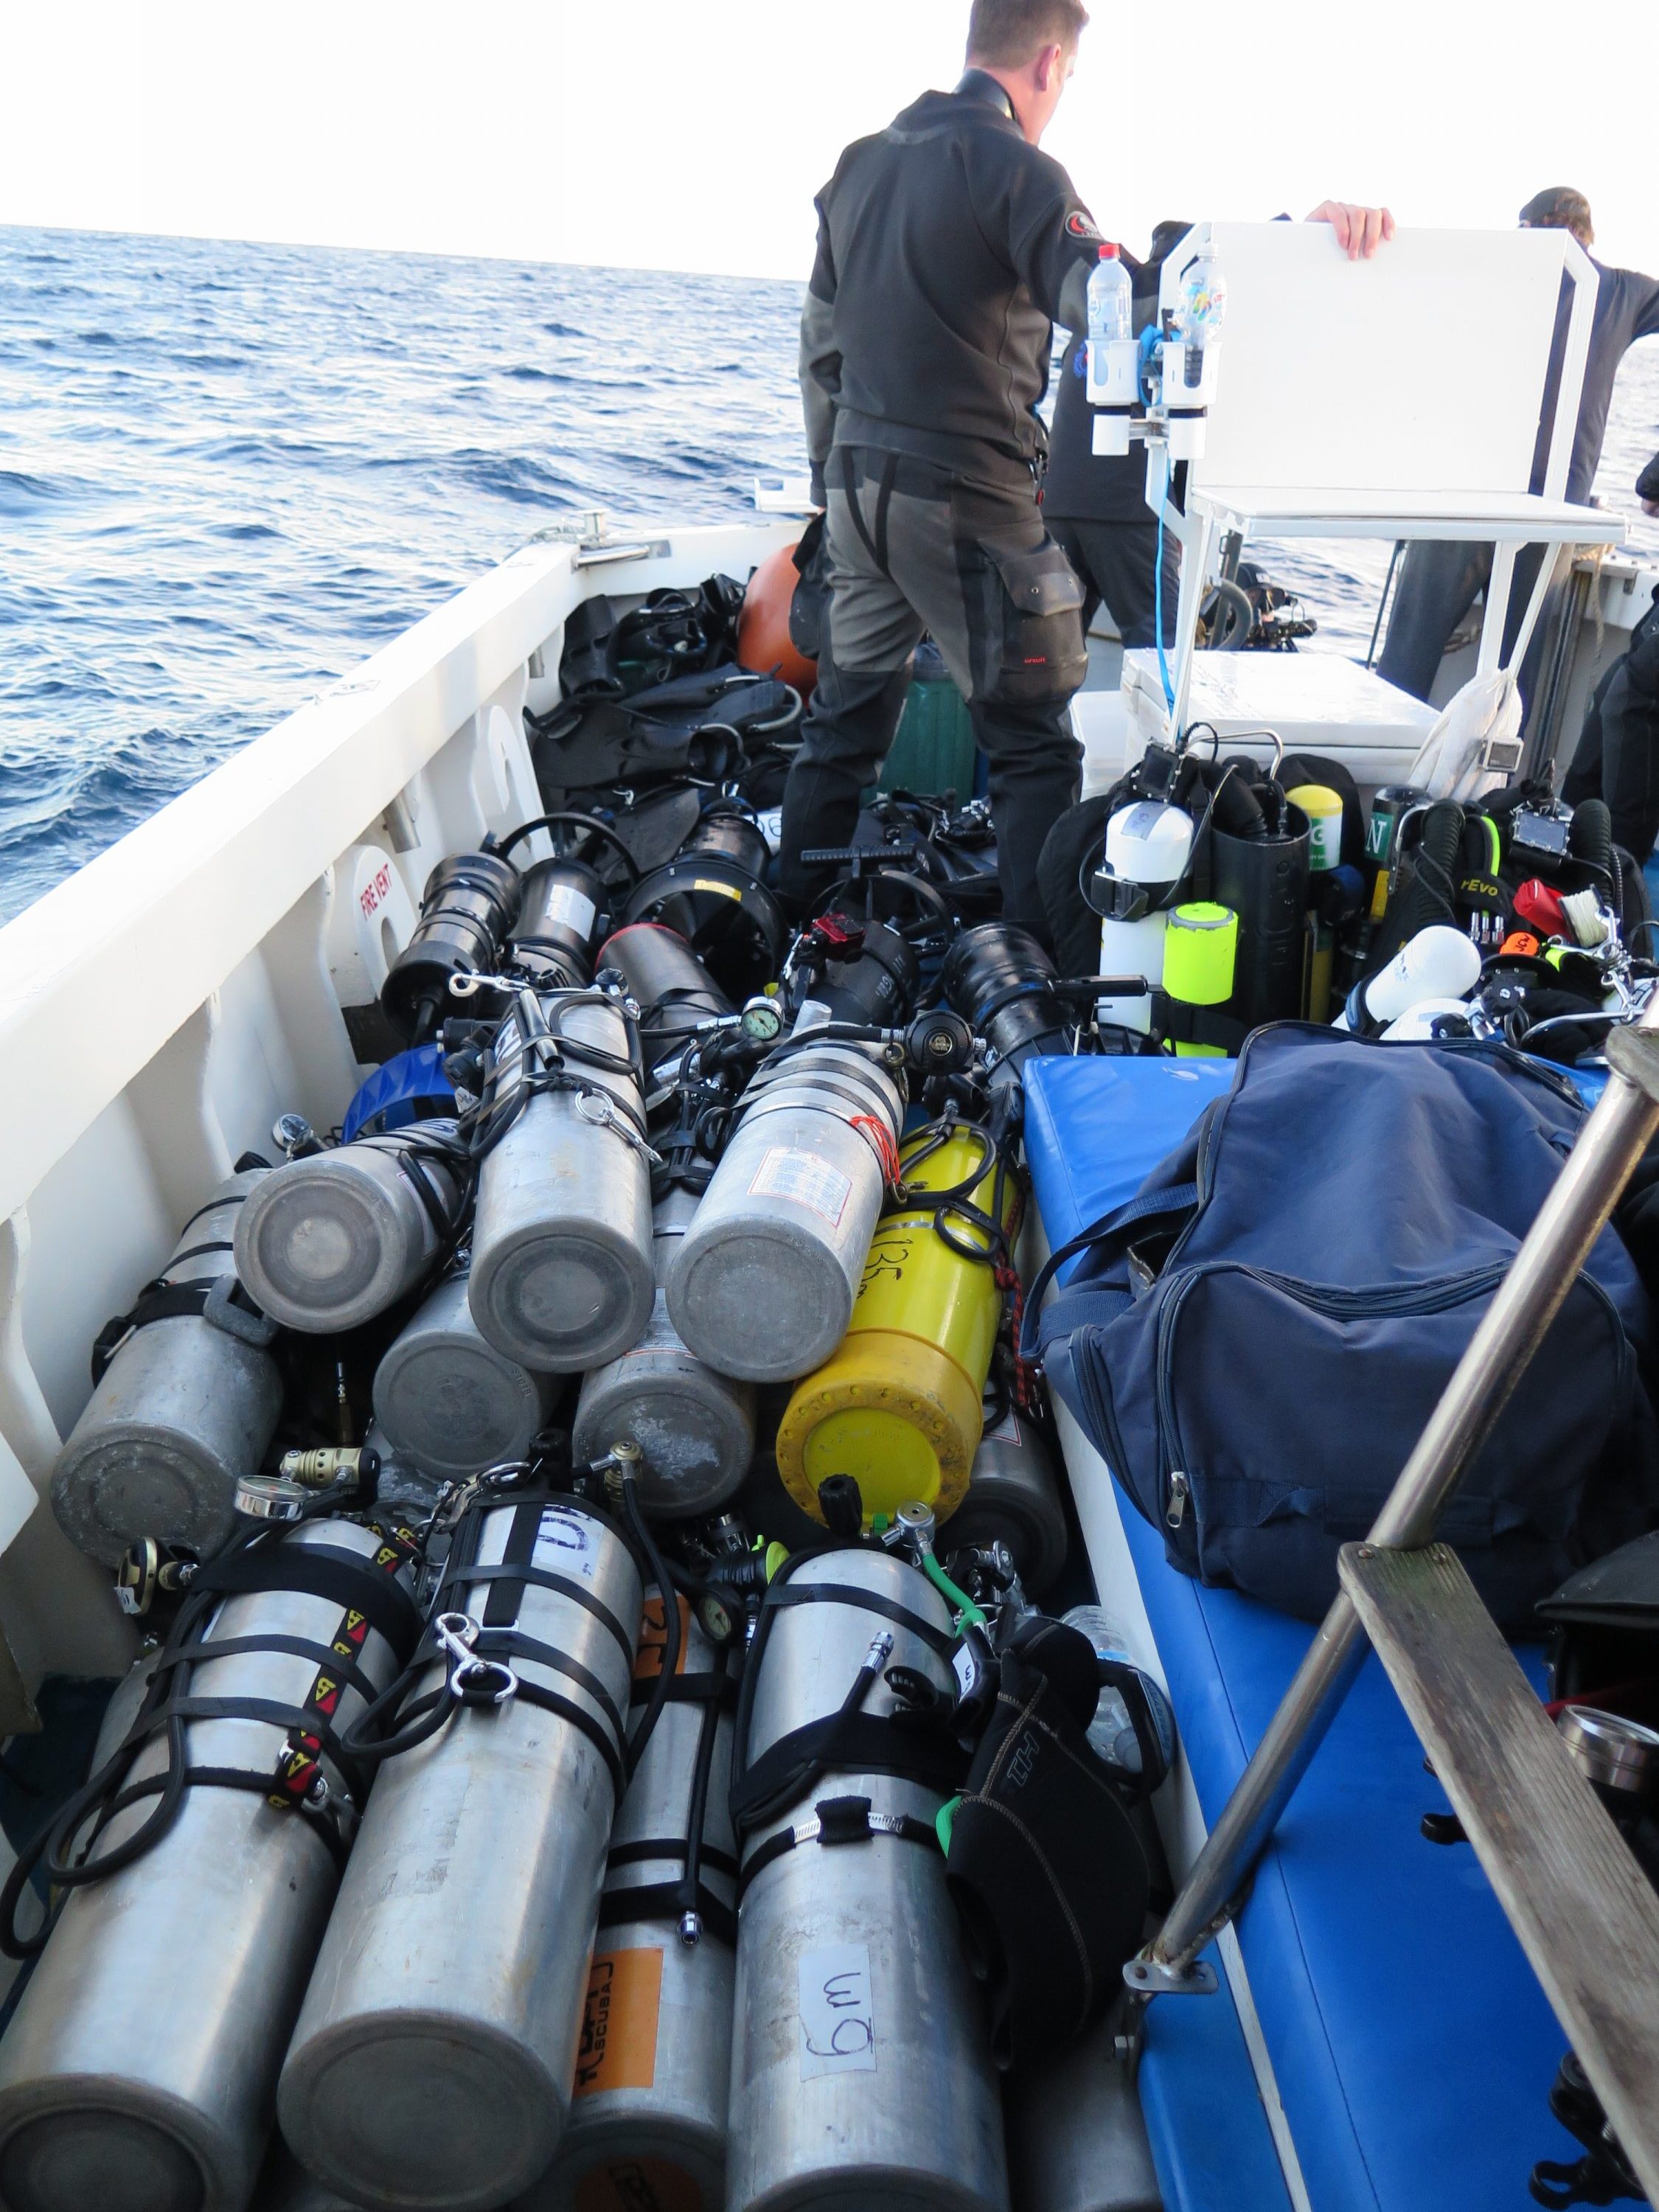
Just a bit of gear
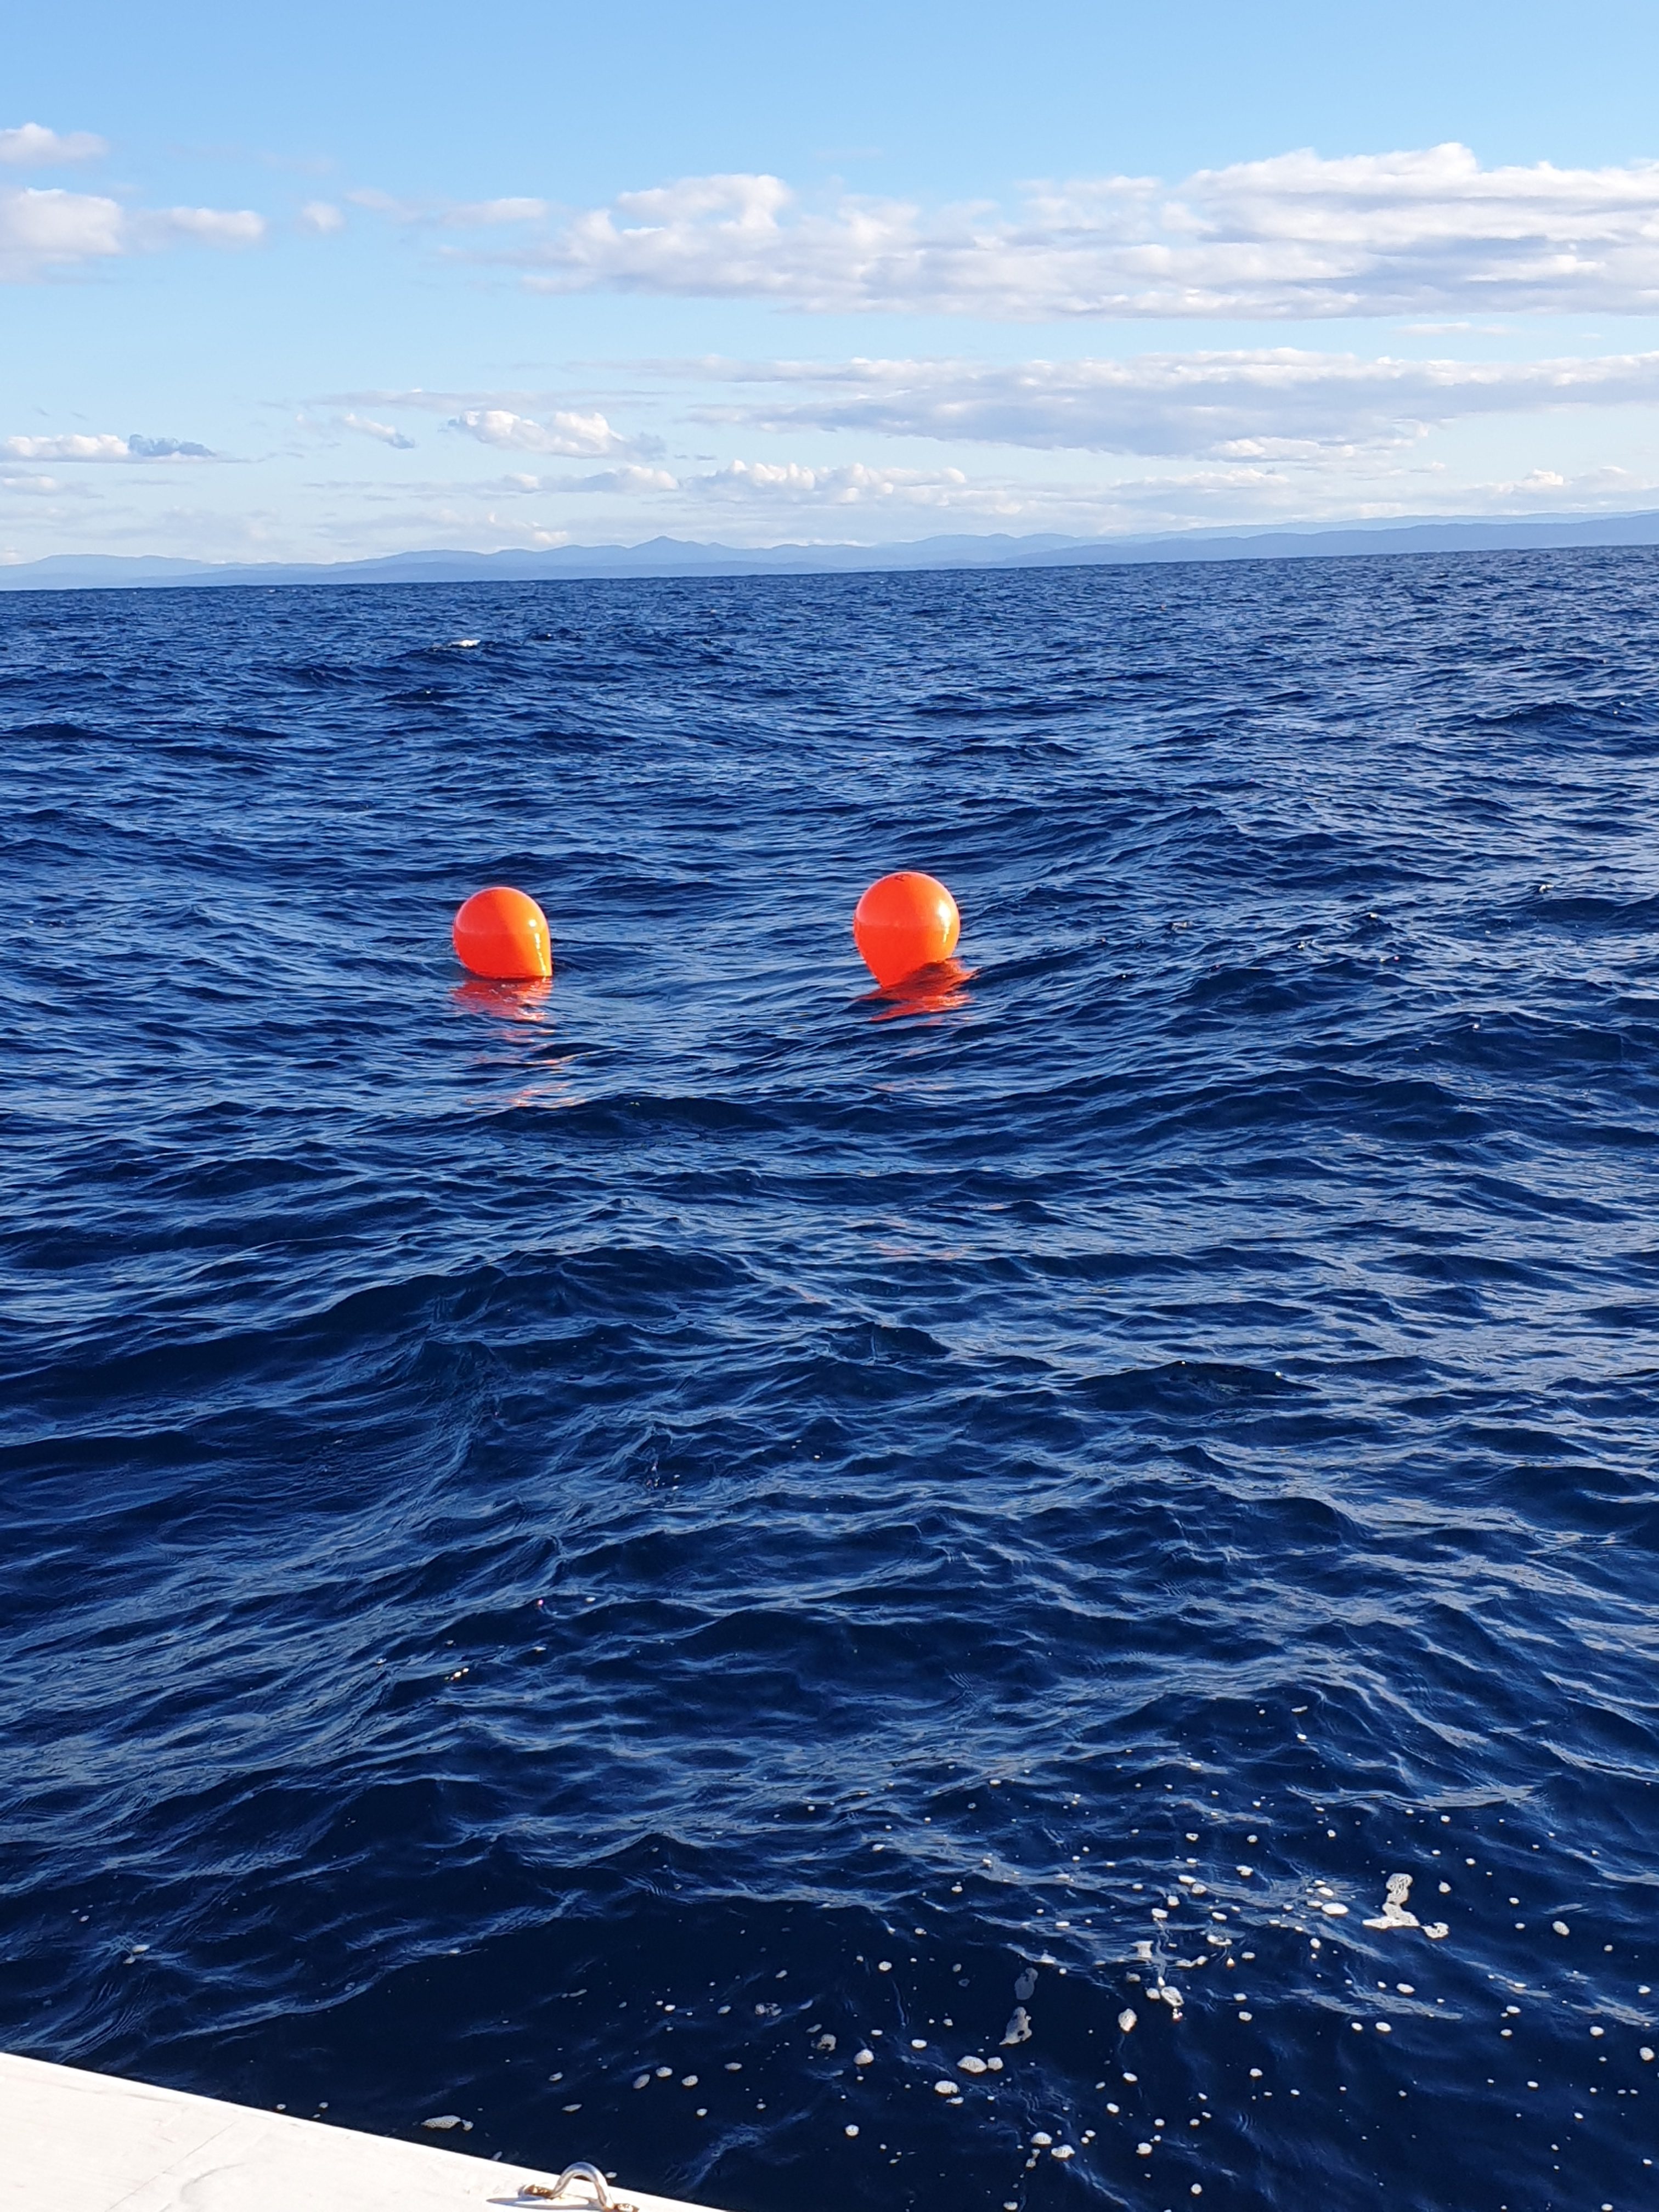
Deco Station
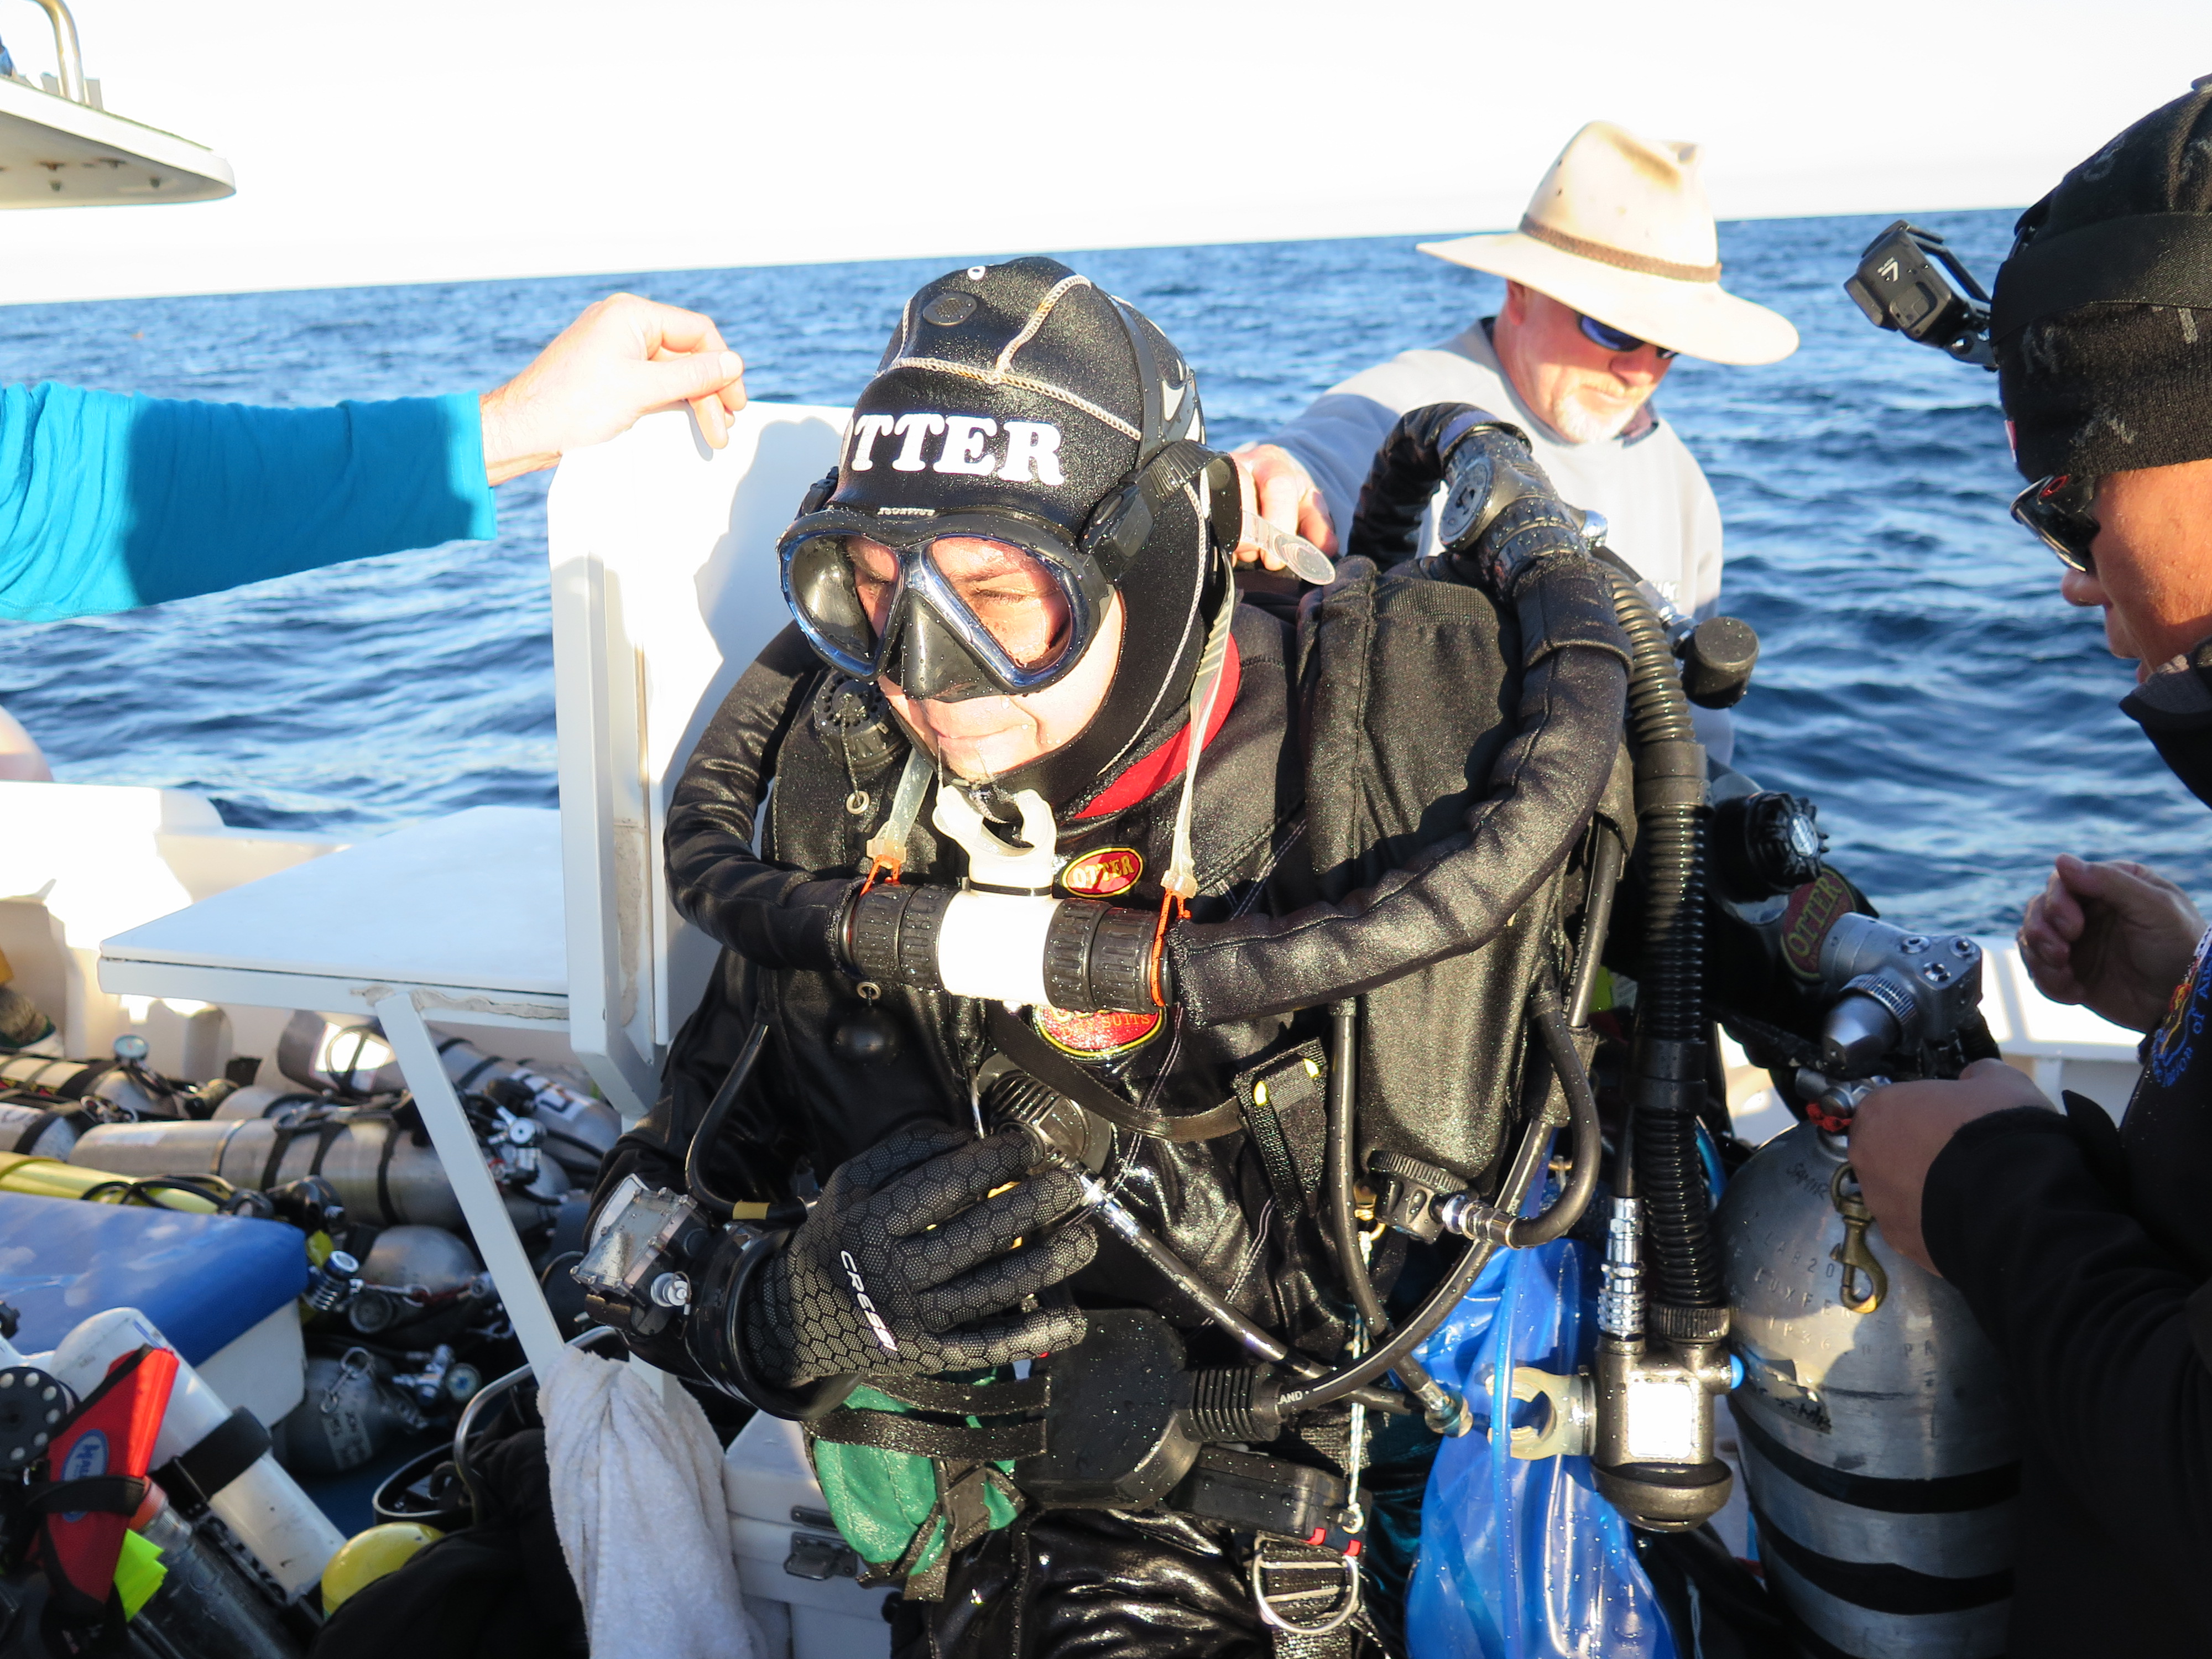
Sydney Project divers gear up in their pairs. This routine supports buddy dive teams entering the water in a staggered fashion and reduces diver congestion when gearing up. Once all divers were in the water, Scott and I were last to jump in, where we noticed just under one knot of current in the clear water.
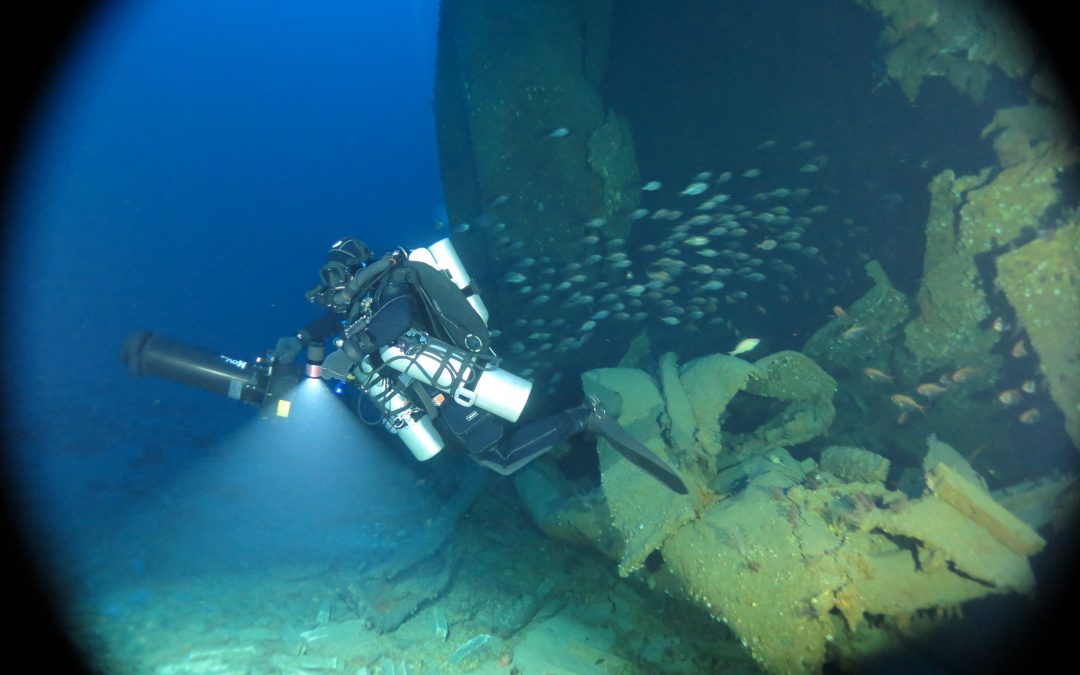
Descending down the shot-line, the up-turned hull of the wreck became visible towards 100 metres. Overall visibility was over 40 meters, where we could see the shot-line laying across the starboard side of the wreck. We followed it down to make sure it was secure, and then continued along the hull exploring the site.
Many types of ammunition, including bullet magazines and shells of various sizes littered the seabed close to the starboard torpedo hole and where the stern of the ship broke off, laying approximately 300 meters away from the main hull. Next to the torpedo hole was a crushed truck with visible wheels and tyres which were part of the cargo of trucks, jeeps and ambulance’s that the ship was transporting. We entered the wreck through the torpedo hole and admired the vastness of space filled with more trucks and fire hose reels.
We exited this area through the hull break and continued along port side of the hull where more war material is scattered along the sea floor. We reached the next torpedo hole nearest the bow, where inside was an amazing collection of trucks and jeeps – some of which were flat from being crushed when the ship flipped upside down. We entered the next cargo hold towards the bow (via breaks in the cargo hold wall) and there were more trucks as well a cargo of lead ingots. The ingots were stamped “Broken Hill Australia”.
Research suggests that the majority of material onboard the ship also originated from Broken Hill in NSW. The mining town was the source of the raw lead which was transported to Port Pirie Smelter in South Australia. Once smelted, the lead ingots were then loaded onto the William Dawes in Adelaide, along with ammunition that was also manufactured mostly by women workers in Broken Hill.
Exiting the cargo hold, we proceeded along the hull towards the bow of the wreck, until we reached both port and starboard anchors stowed in their place. Fishing net draped over the port anchor. Switching off the powerful HMI light on the scooter, I admired the incredible sheer size of the wreck against breathtaking ambient clear blue light. Such a sight to witness at this depth.
With 5 minutes of bottom time remaining we reluctantly returned to the shot line to start the long ascent to the surface. Deco went smoothly with great help from our support divers. After pulling in the deco and shot lines and reorganising the deck for the return trip home our focus turned towards the teams 2nd dive the following day.
Keep reading, and find out how we went on Sunday….
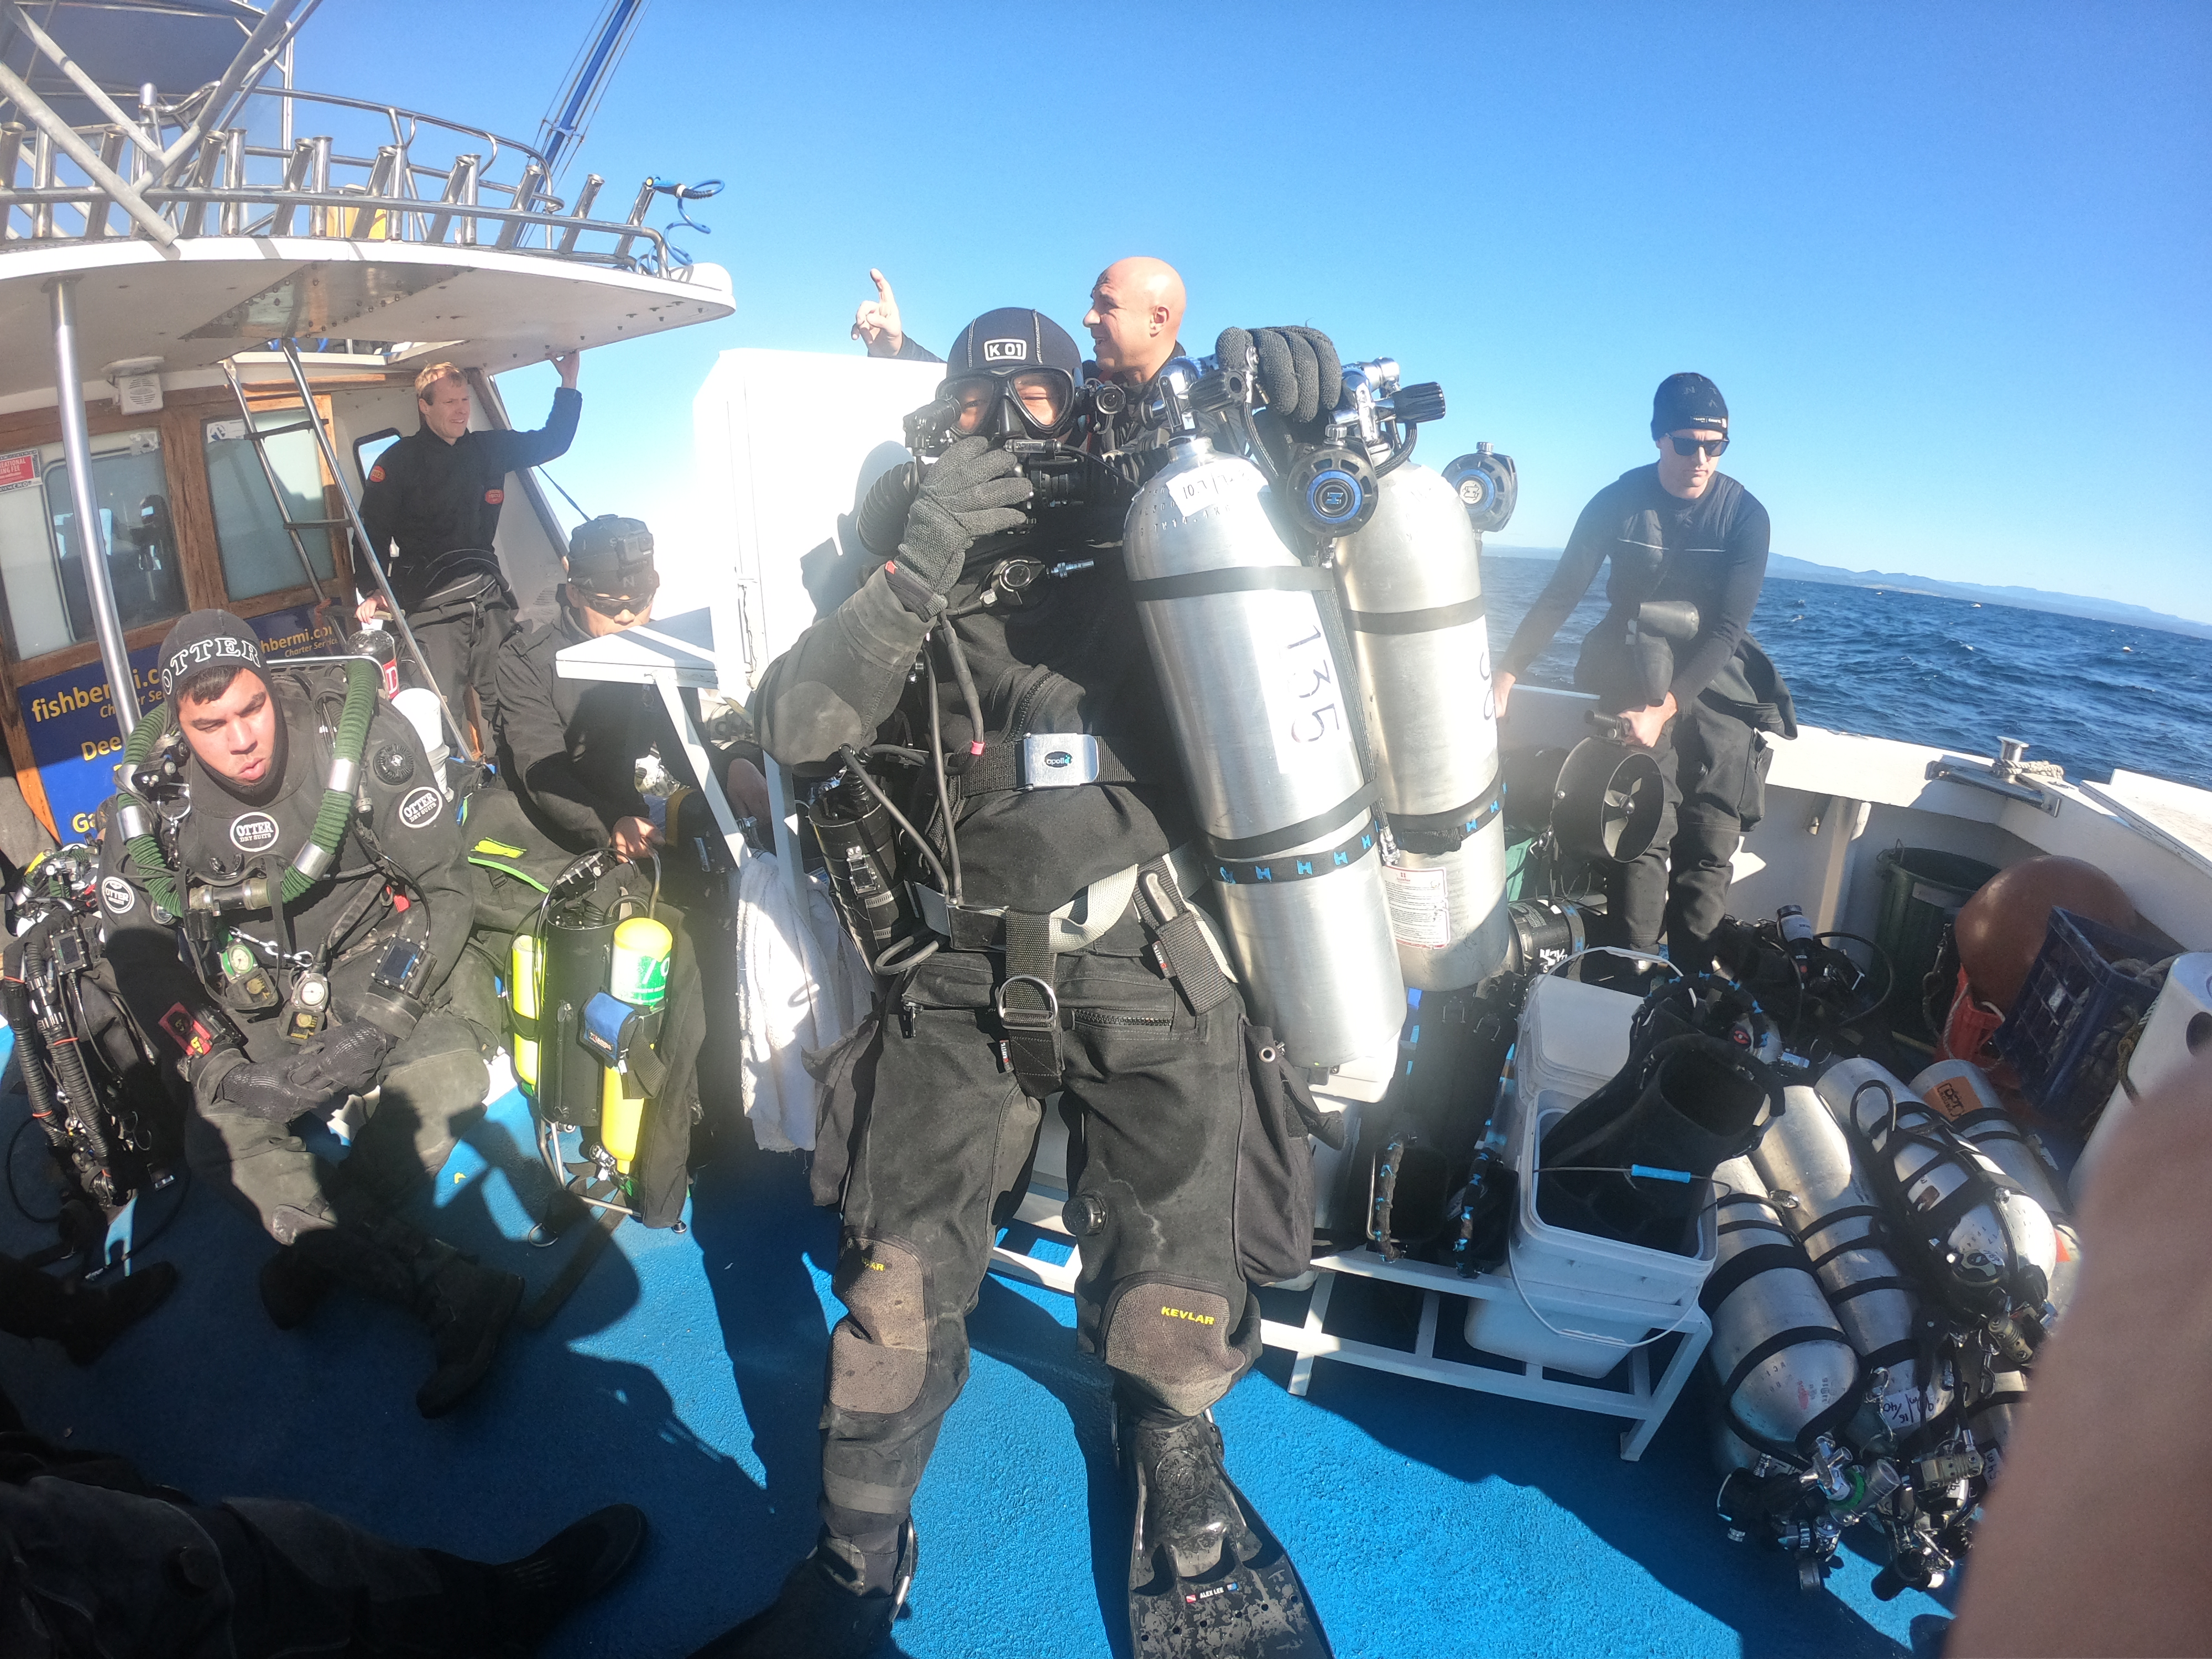
Alex gearing up

Ben helping Chris
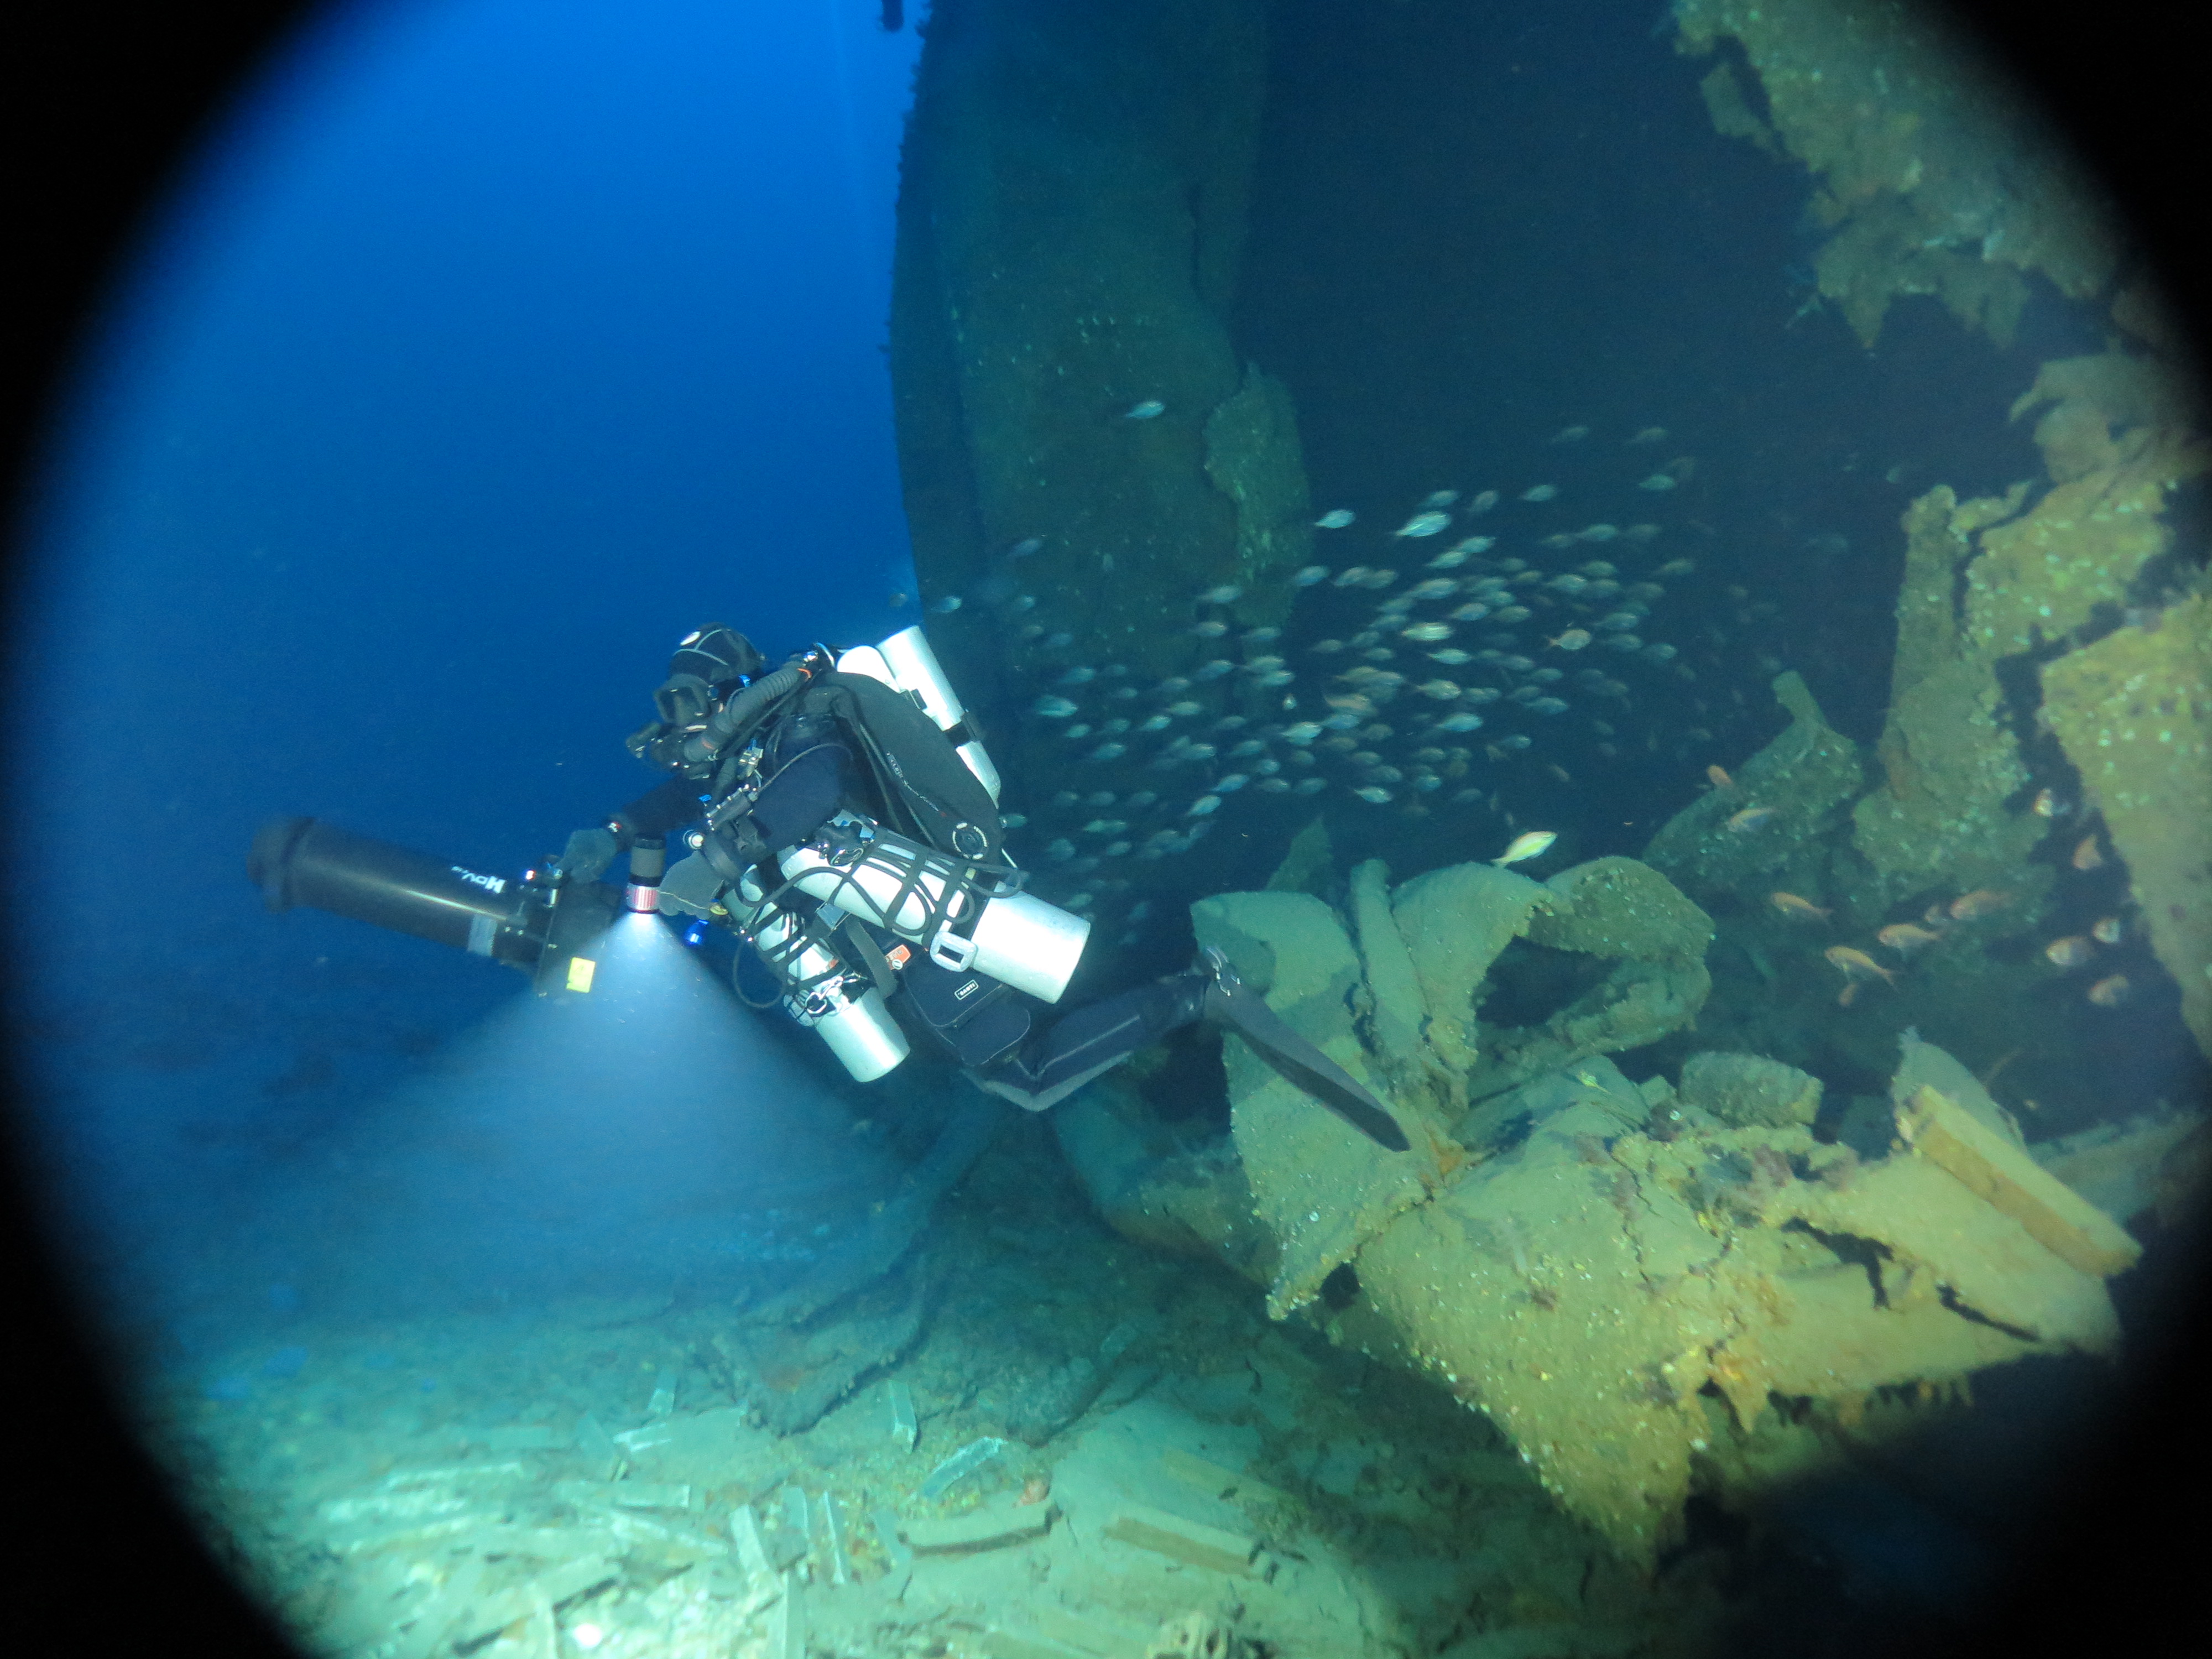
Broken hull of William Dawes
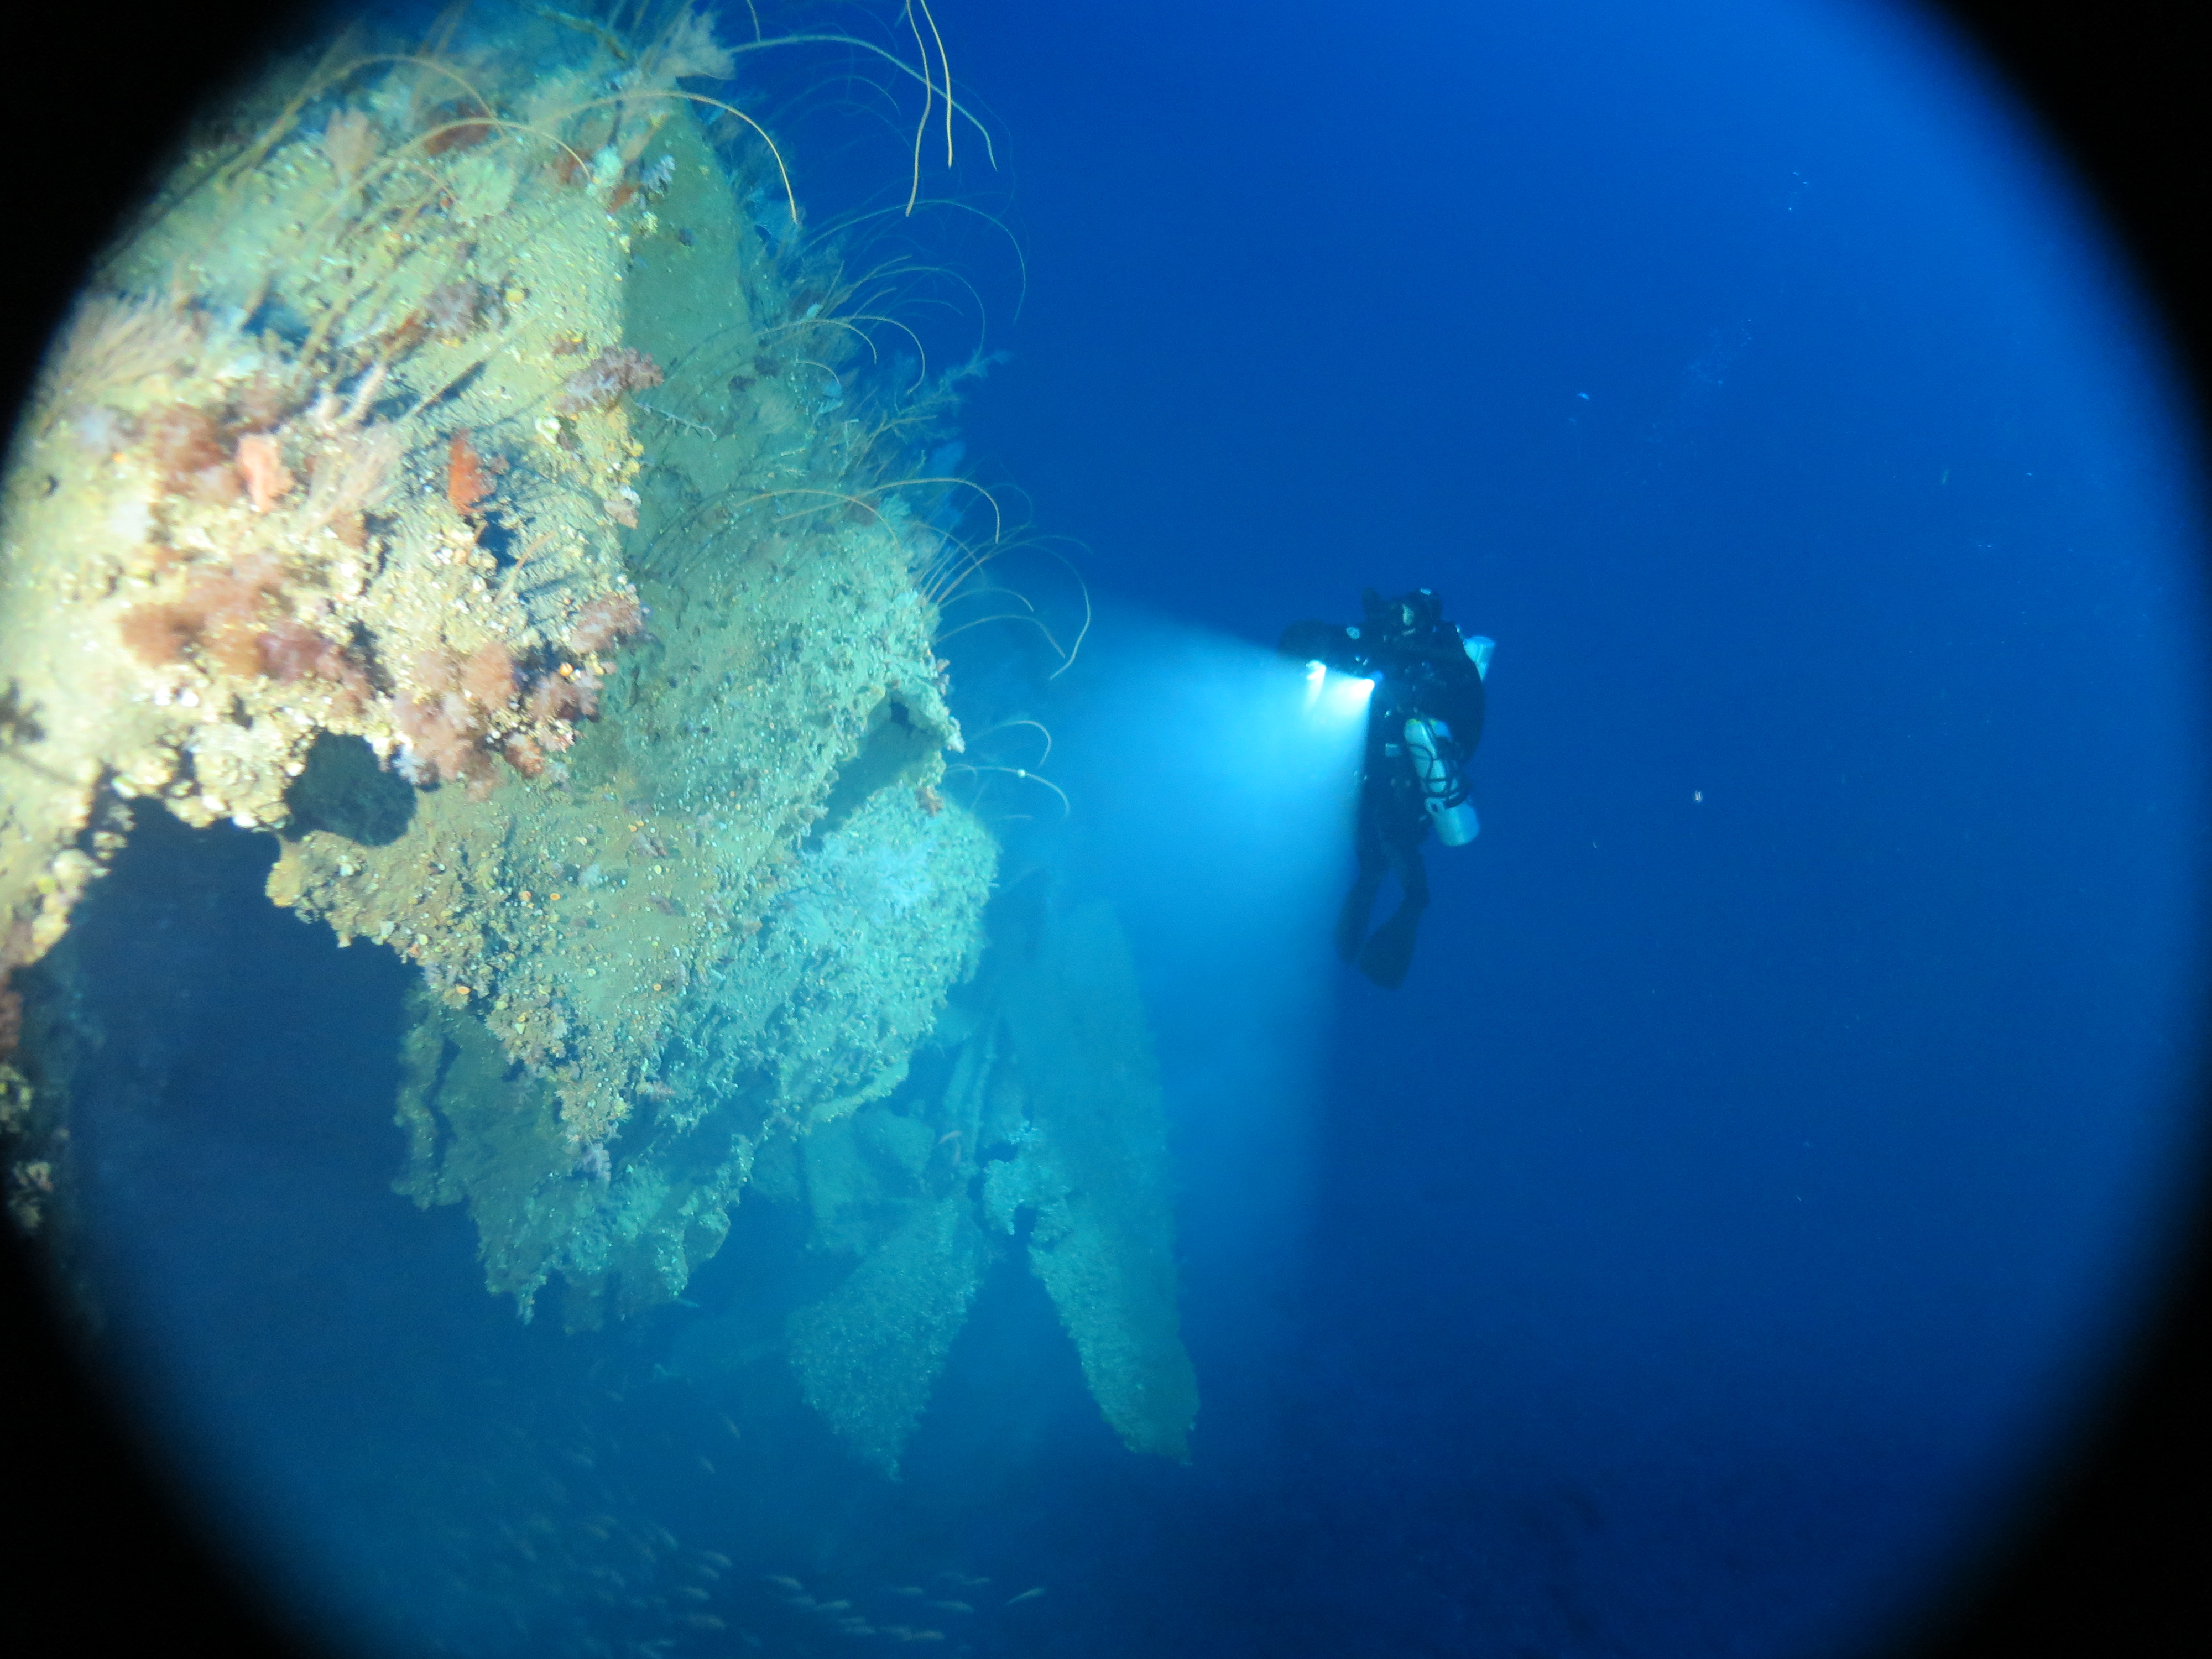
Hull of William Dawes
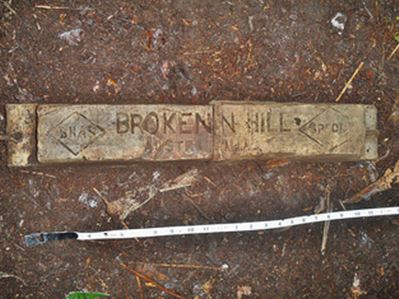
Ingot
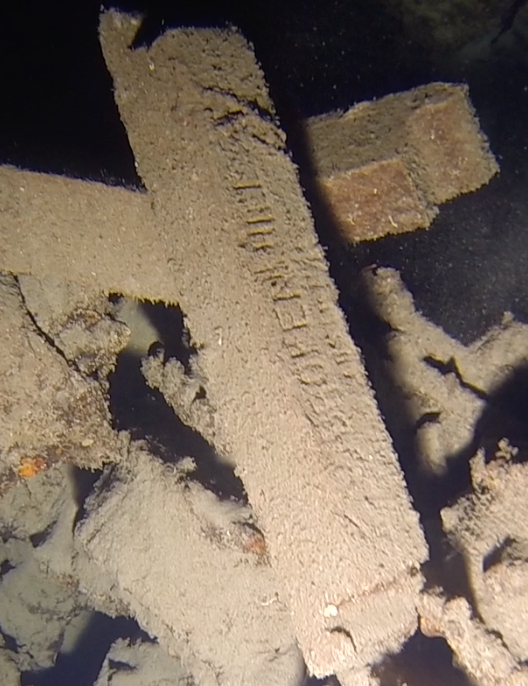
Ingot on William Dawes
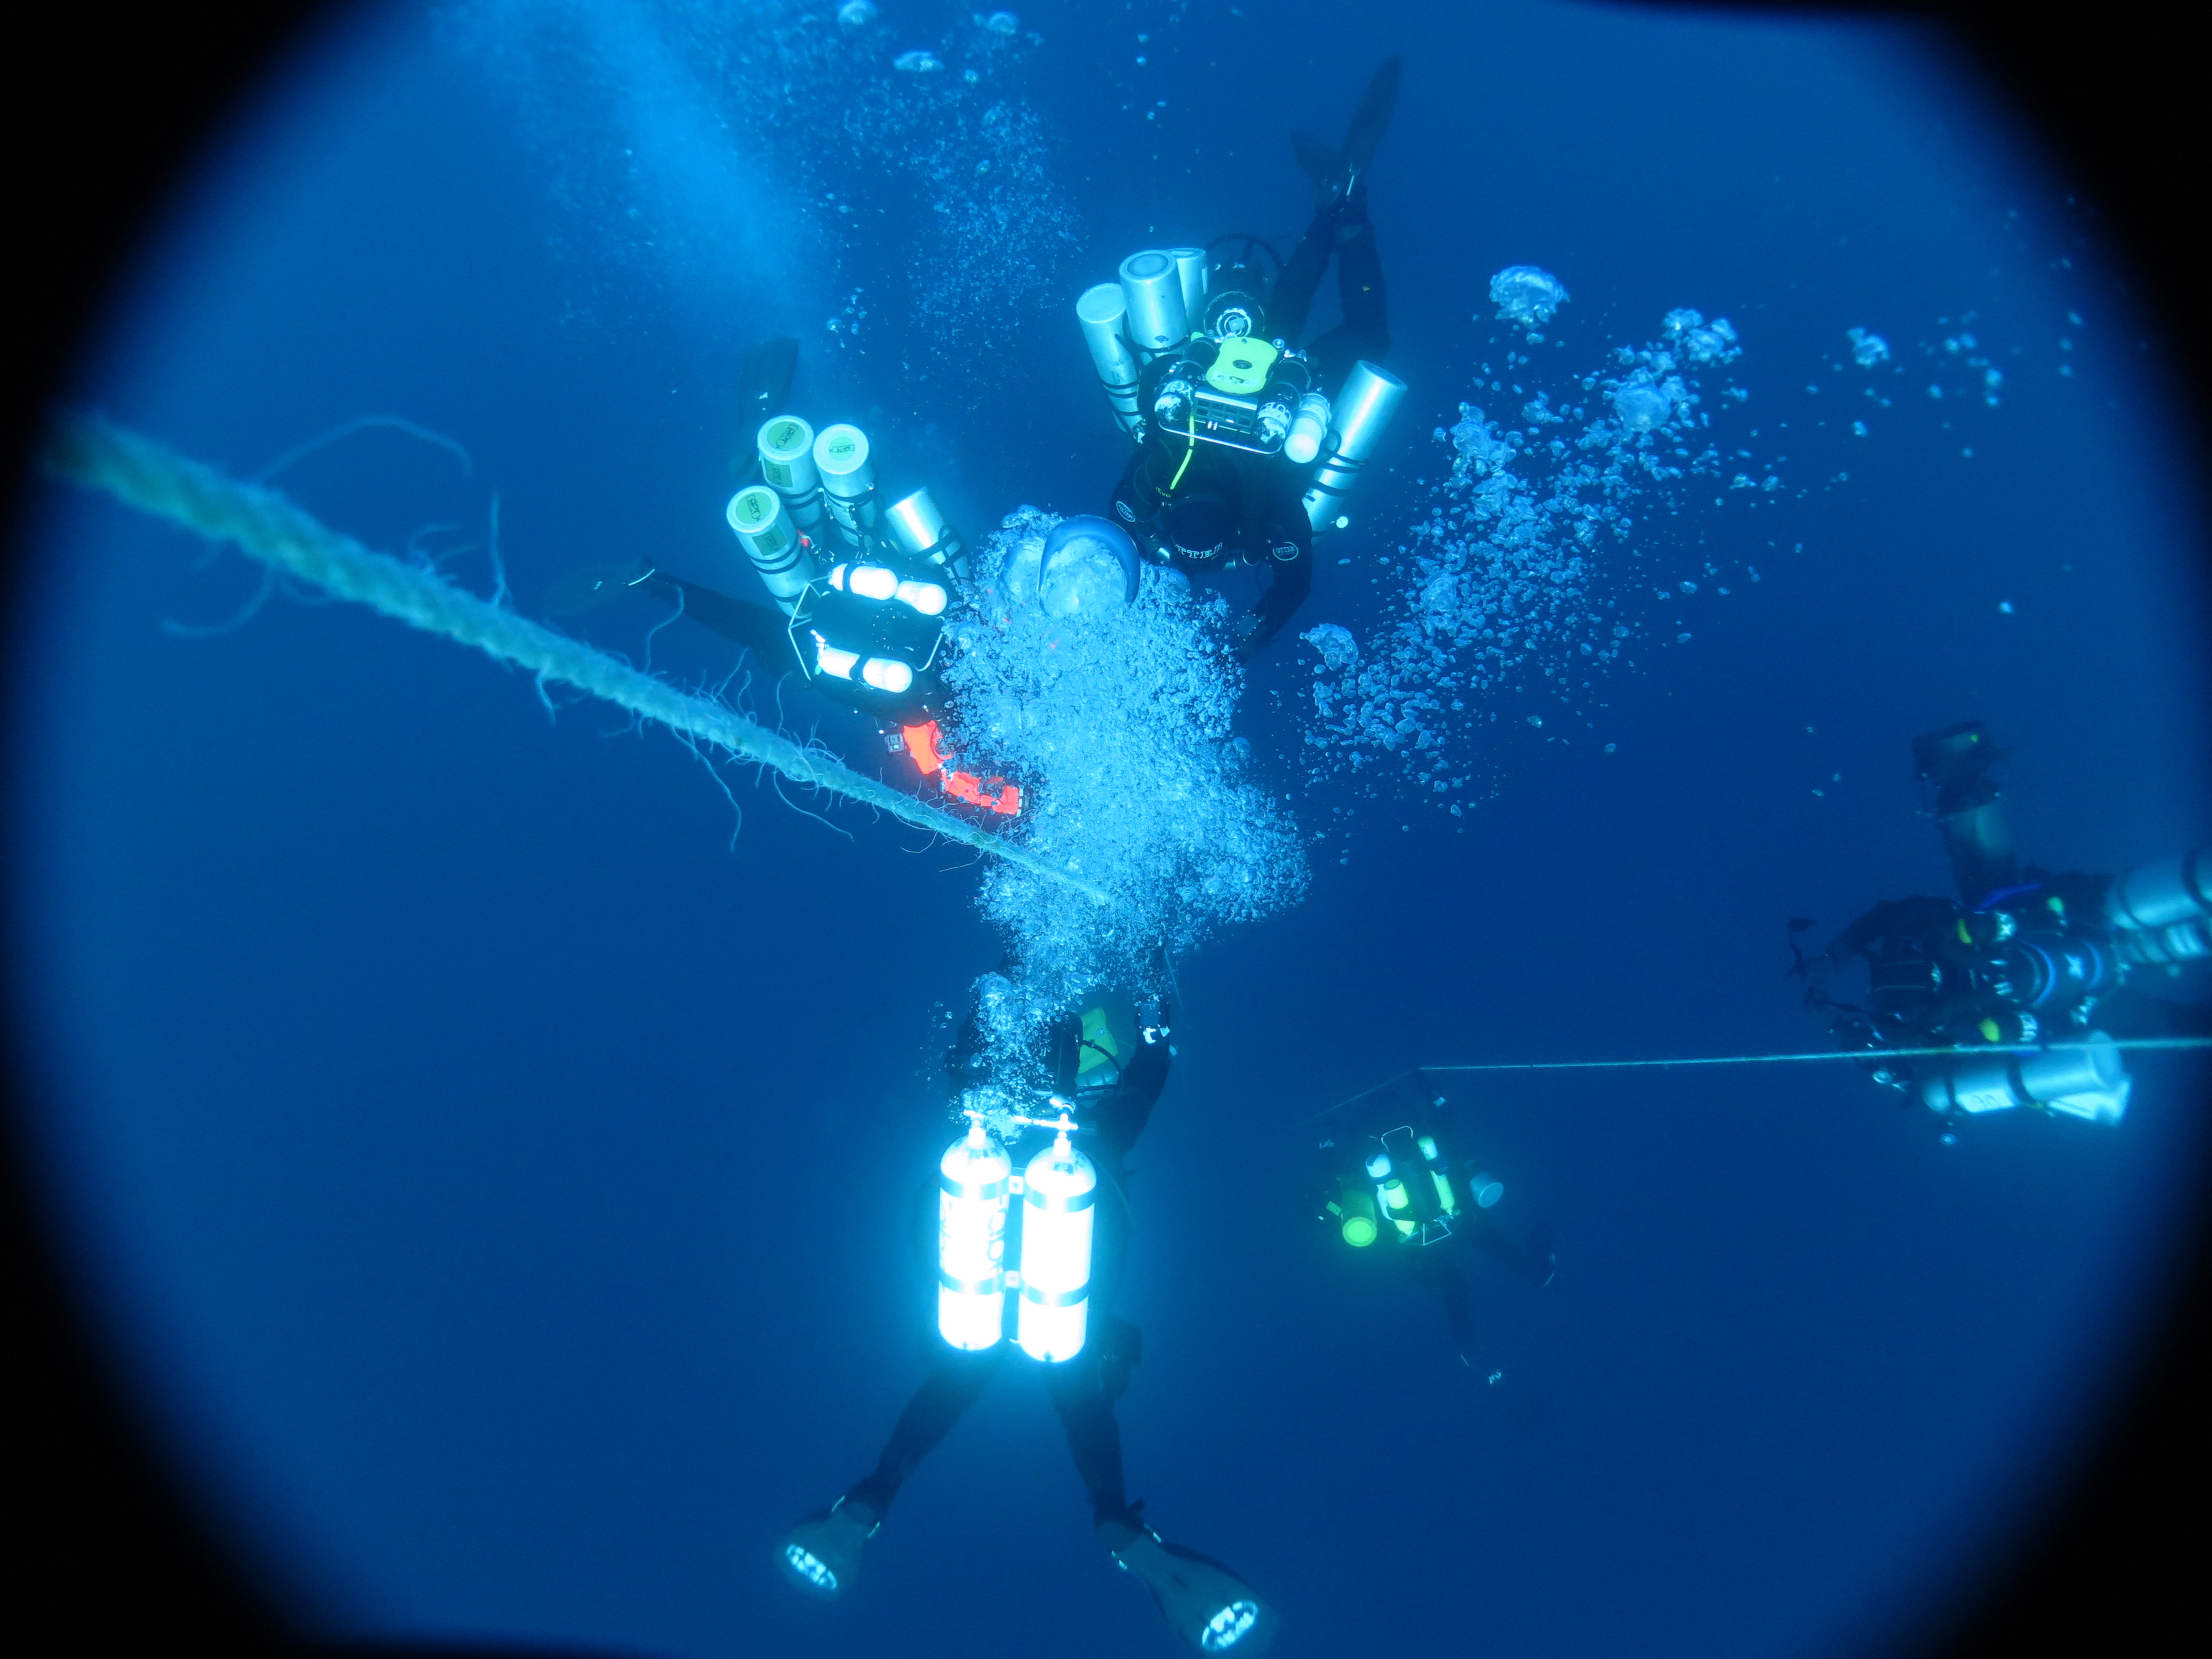
Deco on William Dawes
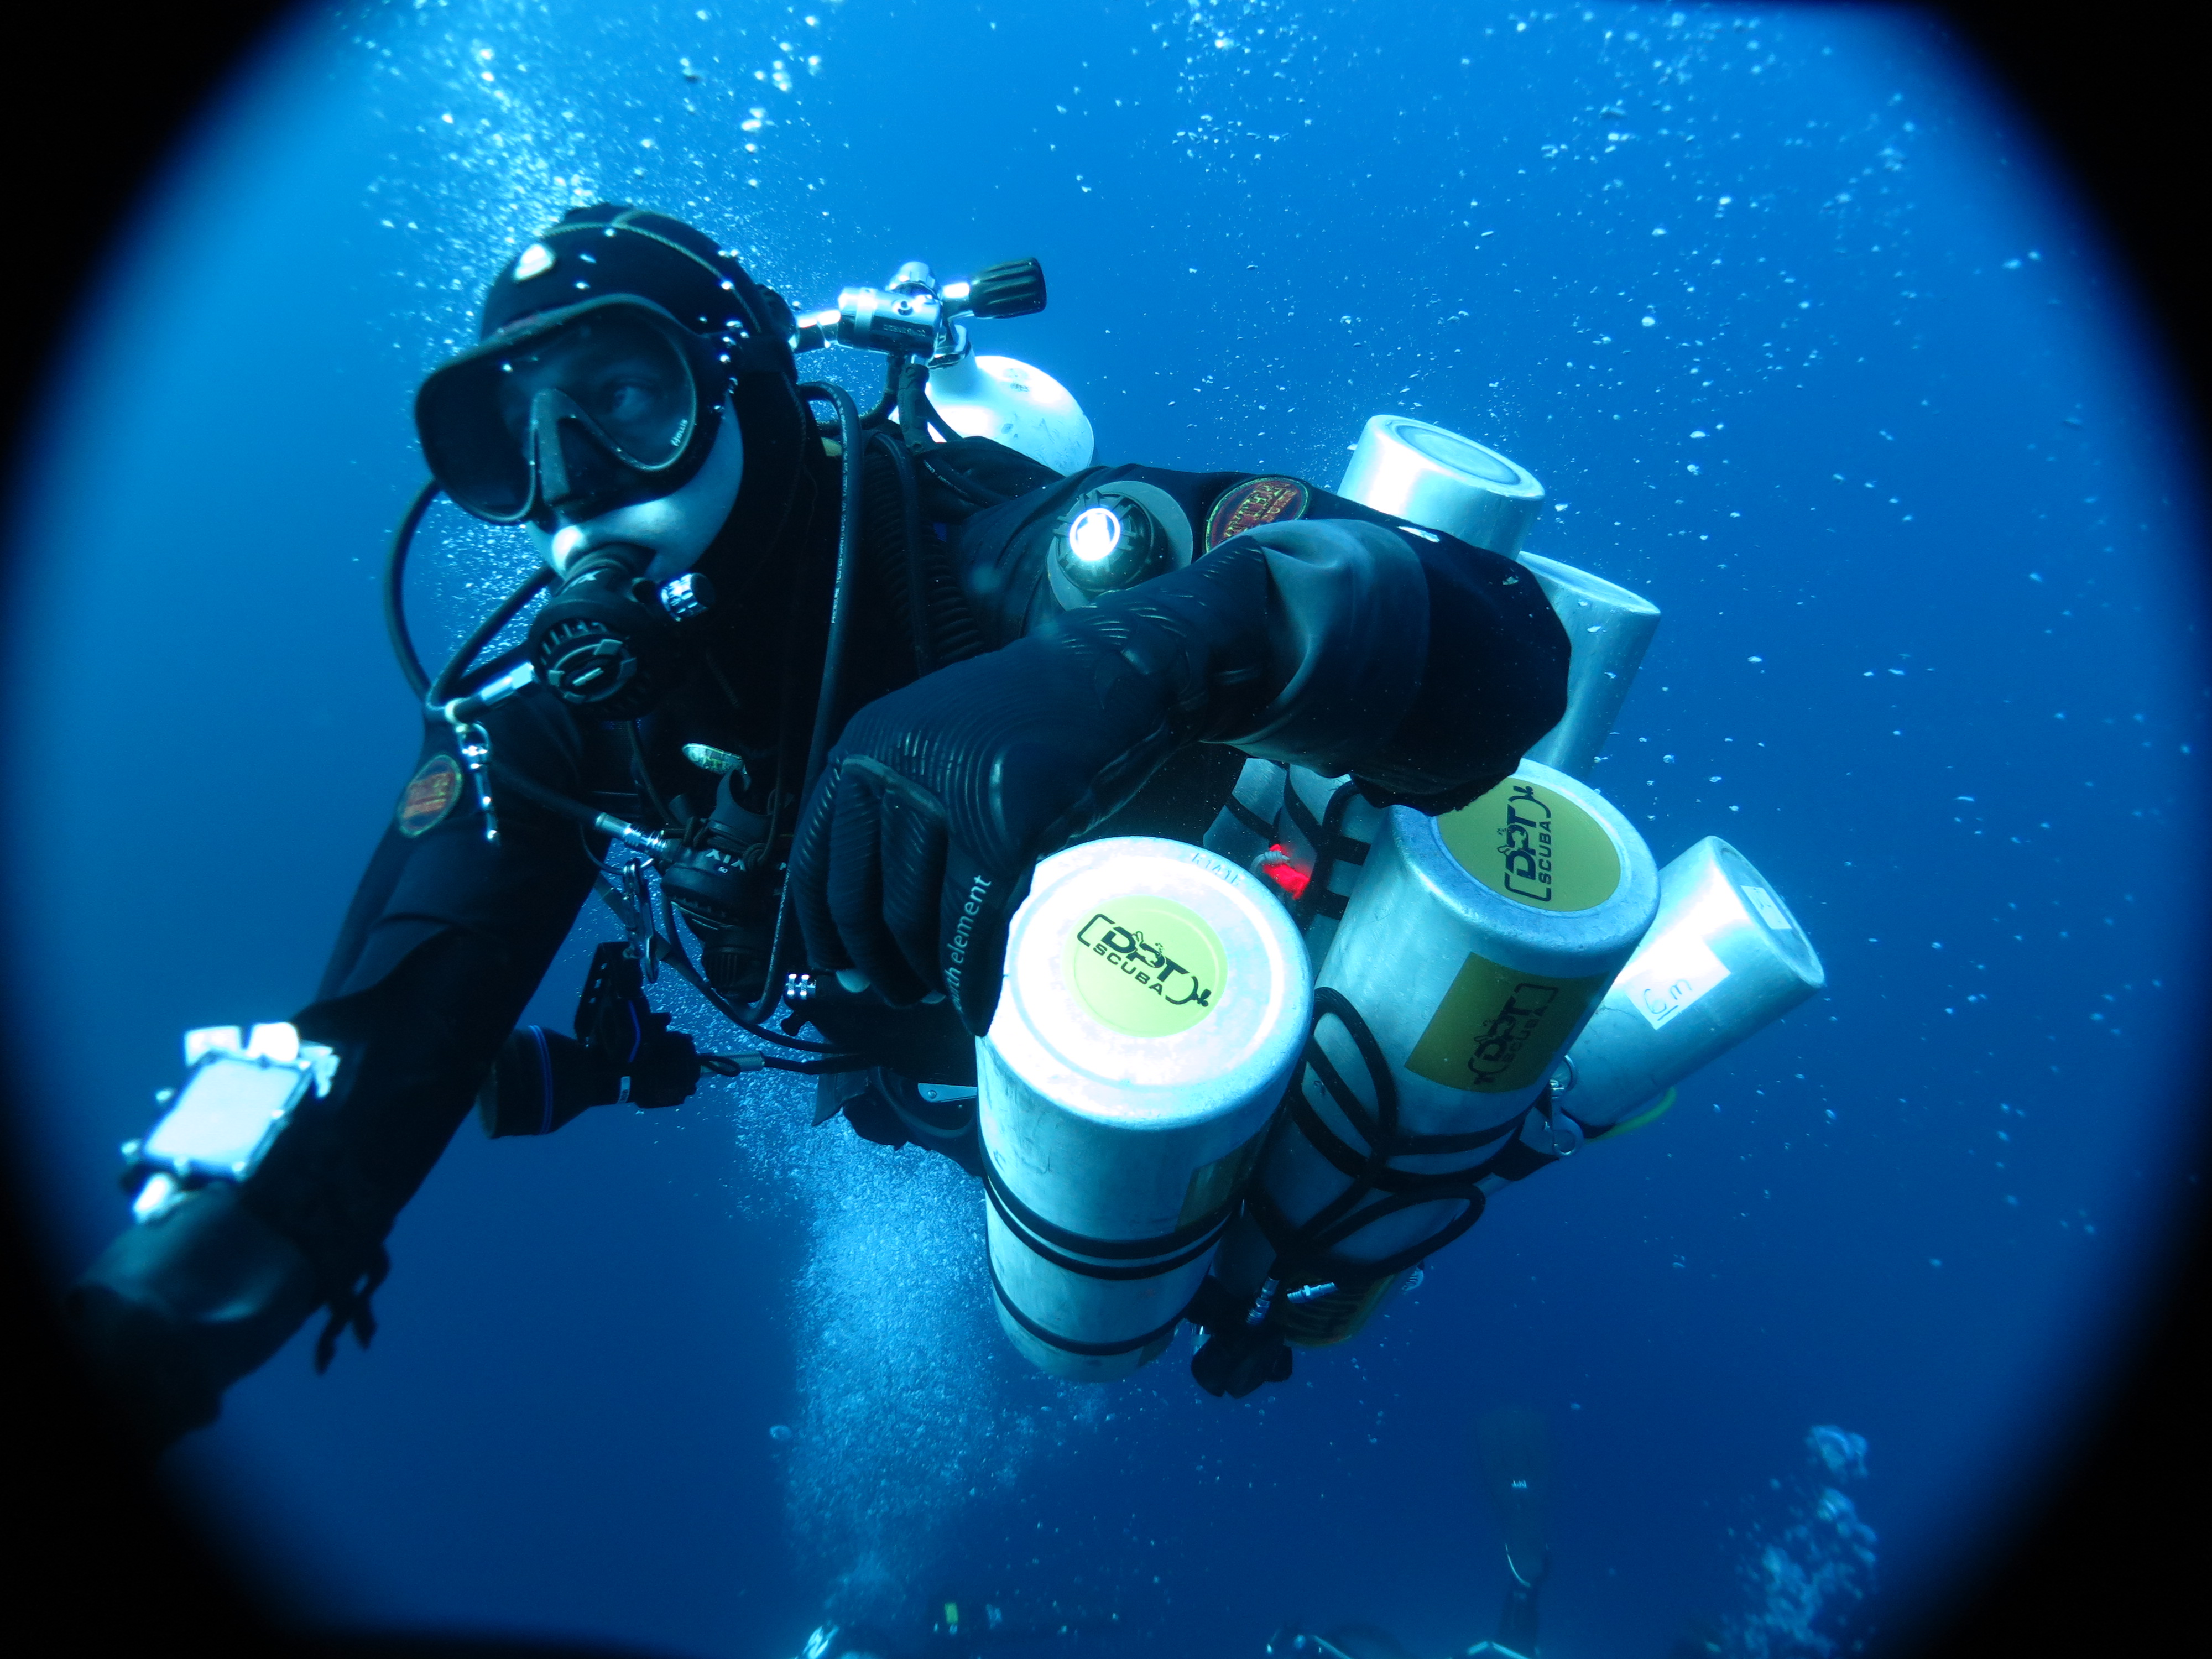
Luke support Diver